Every year, many students miss out on scholarships they are eligible for, not because they lack marks but because they apply late, enter wrong details, or never complete verification. The National Scholarship Portal (NSP) is the Government of India's online platform for applying to many scholarships. This guide explains how it works and how to avoid common mistakes.
What is the National Scholarship Portal?
The National Scholarship Portal, available at scholarships.gov.in, is a single website where students can apply for many central government scholarship schemes. Some state schemes are also listed there, while others run on separate state portals.
Important: NSP is not one scholarship with one deadline. Each scheme has its own eligibility rules, documents and last date. Always read the guidelines of the particular scheme before you apply.
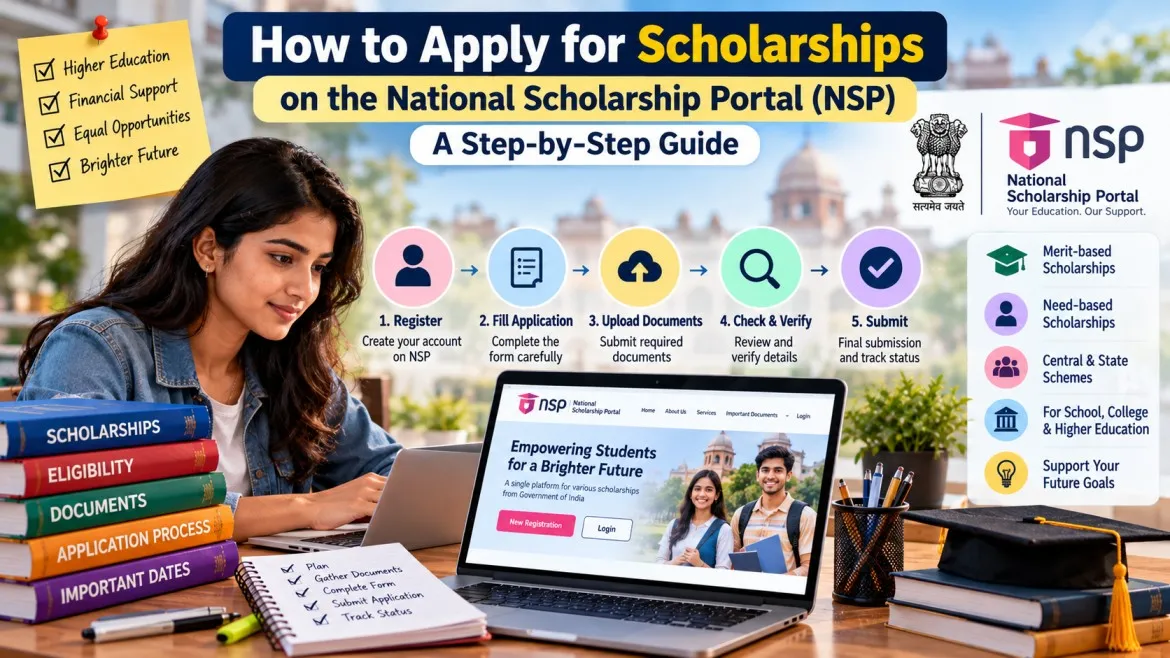
Step 1: Complete One Time Registration (OTR)
NSP requires students to complete One Time Registration (OTR). According to an official circular, the OTR is a unique number allotted to a student and applicable for their entire academic career on NSP. It is required to apply for scholarships on the portal.
The OTR can be generated using your Aadhaar or your Aadhaar Enrolment ID. Recent guidance also describes extra authentication steps, which may include face authentication through an official app. Because these steps can change from year to year, follow the instructions shown on the official portal.
Tips:
- Use the mobile number linked with your Aadhaar if the portal asks for it.
- Enter your name and date of birth exactly as they appear on your documents.
- Save your OTR number and password in a safe place. You will need them every year.
Step 2: Find the scheme that fits you
Log in and look at the list of schemes for the current academic year. Check each scheme for:
- who it is for (class or course, category, gender, state, and so on),
- the family income limit, if any,
- the minimum marks required,
- whether it is a fresh or a renewal application,
- the application start and last dates.
Read the scheme guidelines on the official site. If you are not sure whether you qualify, ask your school or college office before you apply.
Step 3: Keep your documents ready
Different schemes ask for different documents. Common ones include:
| Document | Why it is needed |
|---|---|
| Aadhaar or Aadhaar Enrolment ID | Identity and OTR |
| Bank account details | Where the scholarship is paid |
| Previous year's marksheet | Eligibility by marks |
| Income certificate | For schemes with an income limit |
| Category certificate | For category-based schemes |
| Proof of enrolment or bonafide certificate | To show your current institution |
| Recent photograph | For the application |
Check the scheme guidelines for the exact list. Scan documents clearly and keep them within the size and format the portal asks for.
Step 4: Fill in the application carefully
- Choose the correct academic year, course and institution.
- Check every entry before you submit, especially your name, bank account number and IFSC code.
- Upload only the documents the form asks for.
- After you submit, download and save the acknowledgement or application slip.
Scholarship payments are normally made directly into a bank account. Some schemes may require the account to be linked with your Aadhaar, so check the guidelines and fix it early.
Step 5: Make sure your institution verifies the application
Your application does not end when you click submit. According to the official circular, an Institute Nodal Officer reviews the application details on the portal. Further verification by other nodal officers may follow.
If your school or college does not verify the application before the deadline, it may be rejected, even if you filled it in correctly. So:
- tell your institution as soon as you apply,
- ask your school or college office to check its verification status,
- log in to the portal regularly to track your application.
Step 6: Track your status
Use the track application option on the portal. If your application is returned for corrections, fix it quickly, upload the correct documents and resubmit before the deadline.
How to avoid fake scholarship websites
- Type scholarships.gov.in yourself, and do not rely on links in social media or messaging groups.
- Be careful with anyone who asks you to pay money to "guarantee" a scholarship.
- Never share your OTP, password or bank PIN with anyone.
- Check the scheme guidelines on the official site for any fee. Do not pay through unofficial links.
Common mistakes
- Applying on the last day.
- Entering details that do not match your documents.
- Uploading blurry or wrong-format documents.
- Forgetting to ask the institution to verify the application.
- Not renewing the scholarship in the next year.
What to do next
- Open scholarships.gov.in and check which schemes are open now.
- Create or recover your OTR.
- Collect your documents and fix any mismatch in names or dates.
- Apply early, then check your status each week.
- Also check your state's education department website for state scholarships.
Frequently asked questions
Can I apply for more than one scholarship?
It depends on the schemes. Many central schemes limit or prevent claiming more than one scholarship for the same course, so read the guidelines carefully.
What if I do not have an Aadhaar card?
The official circular says an Aadhaar Enrolment ID can be used to generate OTR. Check the portal for the current rules.
Do I need to register again every year?
OTR is meant to stay valid throughout your academic career. You apply or renew for a scheme each year using the same OTR.
Is there a single last date for all scholarships?
No. Check each scheme's dates on the portal.
Conclusion
The National Scholarship Portal can open the door to financial support, but it rewards the students who start early and finish every step. Create your OTR, choose the right scheme, keep your documents consistent, and make sure your institution verifies your application. Always use the official portal.